If you’re curious about making your own e-cigarette at home, you’ve come to the right place. Creating your own e-cigarette can be an intriguing process that could save you money and allow you to customize the device to your preferences. The process involves gathering essential components, understanding their functions, and assembling them carefully.
Understanding E-cigarettes:
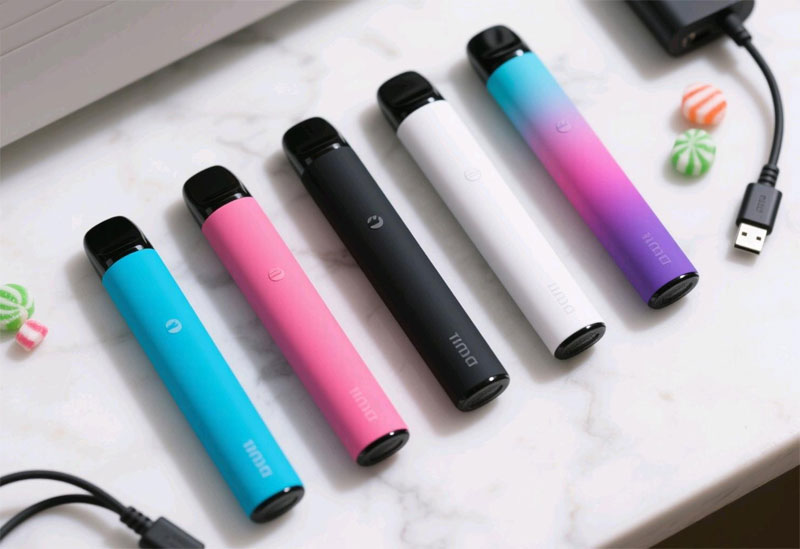
E-cigarettes, also known as vaping devices, generally consist of three main parts: the battery, the atomizer, and the e-liquid. The battery is the power source that heats the atomizer, which in turn vaporizes the e-liquid so you can inhale it.
Choosing the right battery is crucial; you may opt for a lithium-ion battery due to its reliability and capacity. The atomizer contains a coil that becomes hot when powered, heating the e-liquid to produce vapor. E-liquids come in various flavors and nicotine strengths, so selecting one that suits your taste is important.
Essential Materials:
Before diving into the assembly, gather the following materials:
- An inexpensive vaping pen or vaping kit parts
- A lithium-ion battery with at least 650mAh power
- A pre-made atomizer head
- Non-toxic e-liquid in your preferred flavor
- Screws and a screwdriver (if needed for assembly)
- Protective gear such as gloves or goggles

Step-by-Step Guide:
- Start with your atomizer: Make sure the coil is properly installed and functioning. Replace the coil if necessary; it should have a resistance between 0.5 and 2 ohms for moderate use.
- Battery Setup: Attach the battery to the atomizer, ensuring that the connection is secure. You should have a battery with adjustable voltage, which helps control the heat applied to the coil.
- Add E-liquid: Fill the atomizer tank with e-liquid. Be cautious not to overfill as this can cause leakage or improper functioning.
- Assemble and Test: Put together the components, making sure all parts fit snugly. Test the device briefly by activating the battery and observing the vapor production.
- Adjust Settings: If your device allows, adjust airflow and voltage settings to enhance your vaping experience. Find a balance that delivers flavorful vapor while giving satisfactory throat hits.
FAQ and Troubleshooting:
What if my e-cigarette isn’t producing vapor?
Check the battery connection and ensure it is activated. Inspect the coil for damage and replace or adjust if necessary. Ensure the e-liquid level is adequate.
Can I use water instead of e-liquid?
No, water does not vaporize at the same temperature and can cause malfunction or damage to your device.
How do I maintain my DIY e-cigarette?
Regularly clean the components, especially the tank and atomizer. Replace the coil periodically for optimum performance and keep the battery charged according to the manufacturer’s guidelines.
Building your own e-cigarette certainly requires attention to detail but can be a rewarding venture from both a personal and practical standpoint. Remember to adhere to local regulations and health guidelines related to vaping and device assembly. Enjoy crafting a customized vaping experience that suits your style!